Also available in:
![]() Deutsch (German)
Deutsch (German)
OBS Studio (Open Broadcaster Software) is a popular and free tool for optimising your own video streams for numerous portals. For this reason, many camgirls and creators use it. Its functionality goes far beyond Splitcam. For example, recordings can also be fed in effectively and seamlessly as if they were coming from the webcam. It also offers many options for optimising audio and video quality. However, it is not easy to install and use. That’s why CASZIN provides assistance here.
The open source software is available to download free of charge for various operating systems. Here is an overview of the setup on the various platforms:
Windows
- Download: Go to the official OBS website: https://obsproject.com/ and click on the ‘Windows’ download button.
- Execute the installation file: After the download, open the downloaded .exe file.
- Installation: Follow the instructions in the installation wizard. You can use the standard options to simplify the installation.
- Start OBS Studio: Once the installation is complete, you can start OBS Studio from your desktop or via the start menu.
macOS
- Download: Go to the official OBS website: https://obsproject.com/ and click on the ‘macOS’ download button.
- Open the installation file: Double-click on the downloaded .dmg file.
- Move to the applications: Drag the OBS icon to the ‘Applications’ folder.
- Start OBS Studio: open the ‘Applications’ folder and start OBS Studio. The first time you run it, you may need to adjust the security settings in ‘System settings’ > ‘Security’ to allow the application.
Linux
- Package Manager: You can install OBS Studio via the Package Manager of your Linux distribution. Here are some examples:
- Ubuntu/Debian:
sudo apt update sudo apt install obs-studio - Fedora:
sudo dnf install obs-studio - Arch Linux:
bash sudo pacman -S obs-studio
- Flatpak: If you have Flatpak installed, you can also install OBS over it:
flatpak install flathub com.obsproject.Studio- Snap: You can also install OBS Studio via Snap:
sudo snap install obs-studio- Start OBS Studio: After installation, you can start OBS Studio via the terminal or the application menu of your desktop environment.
First steps with OBS Studio
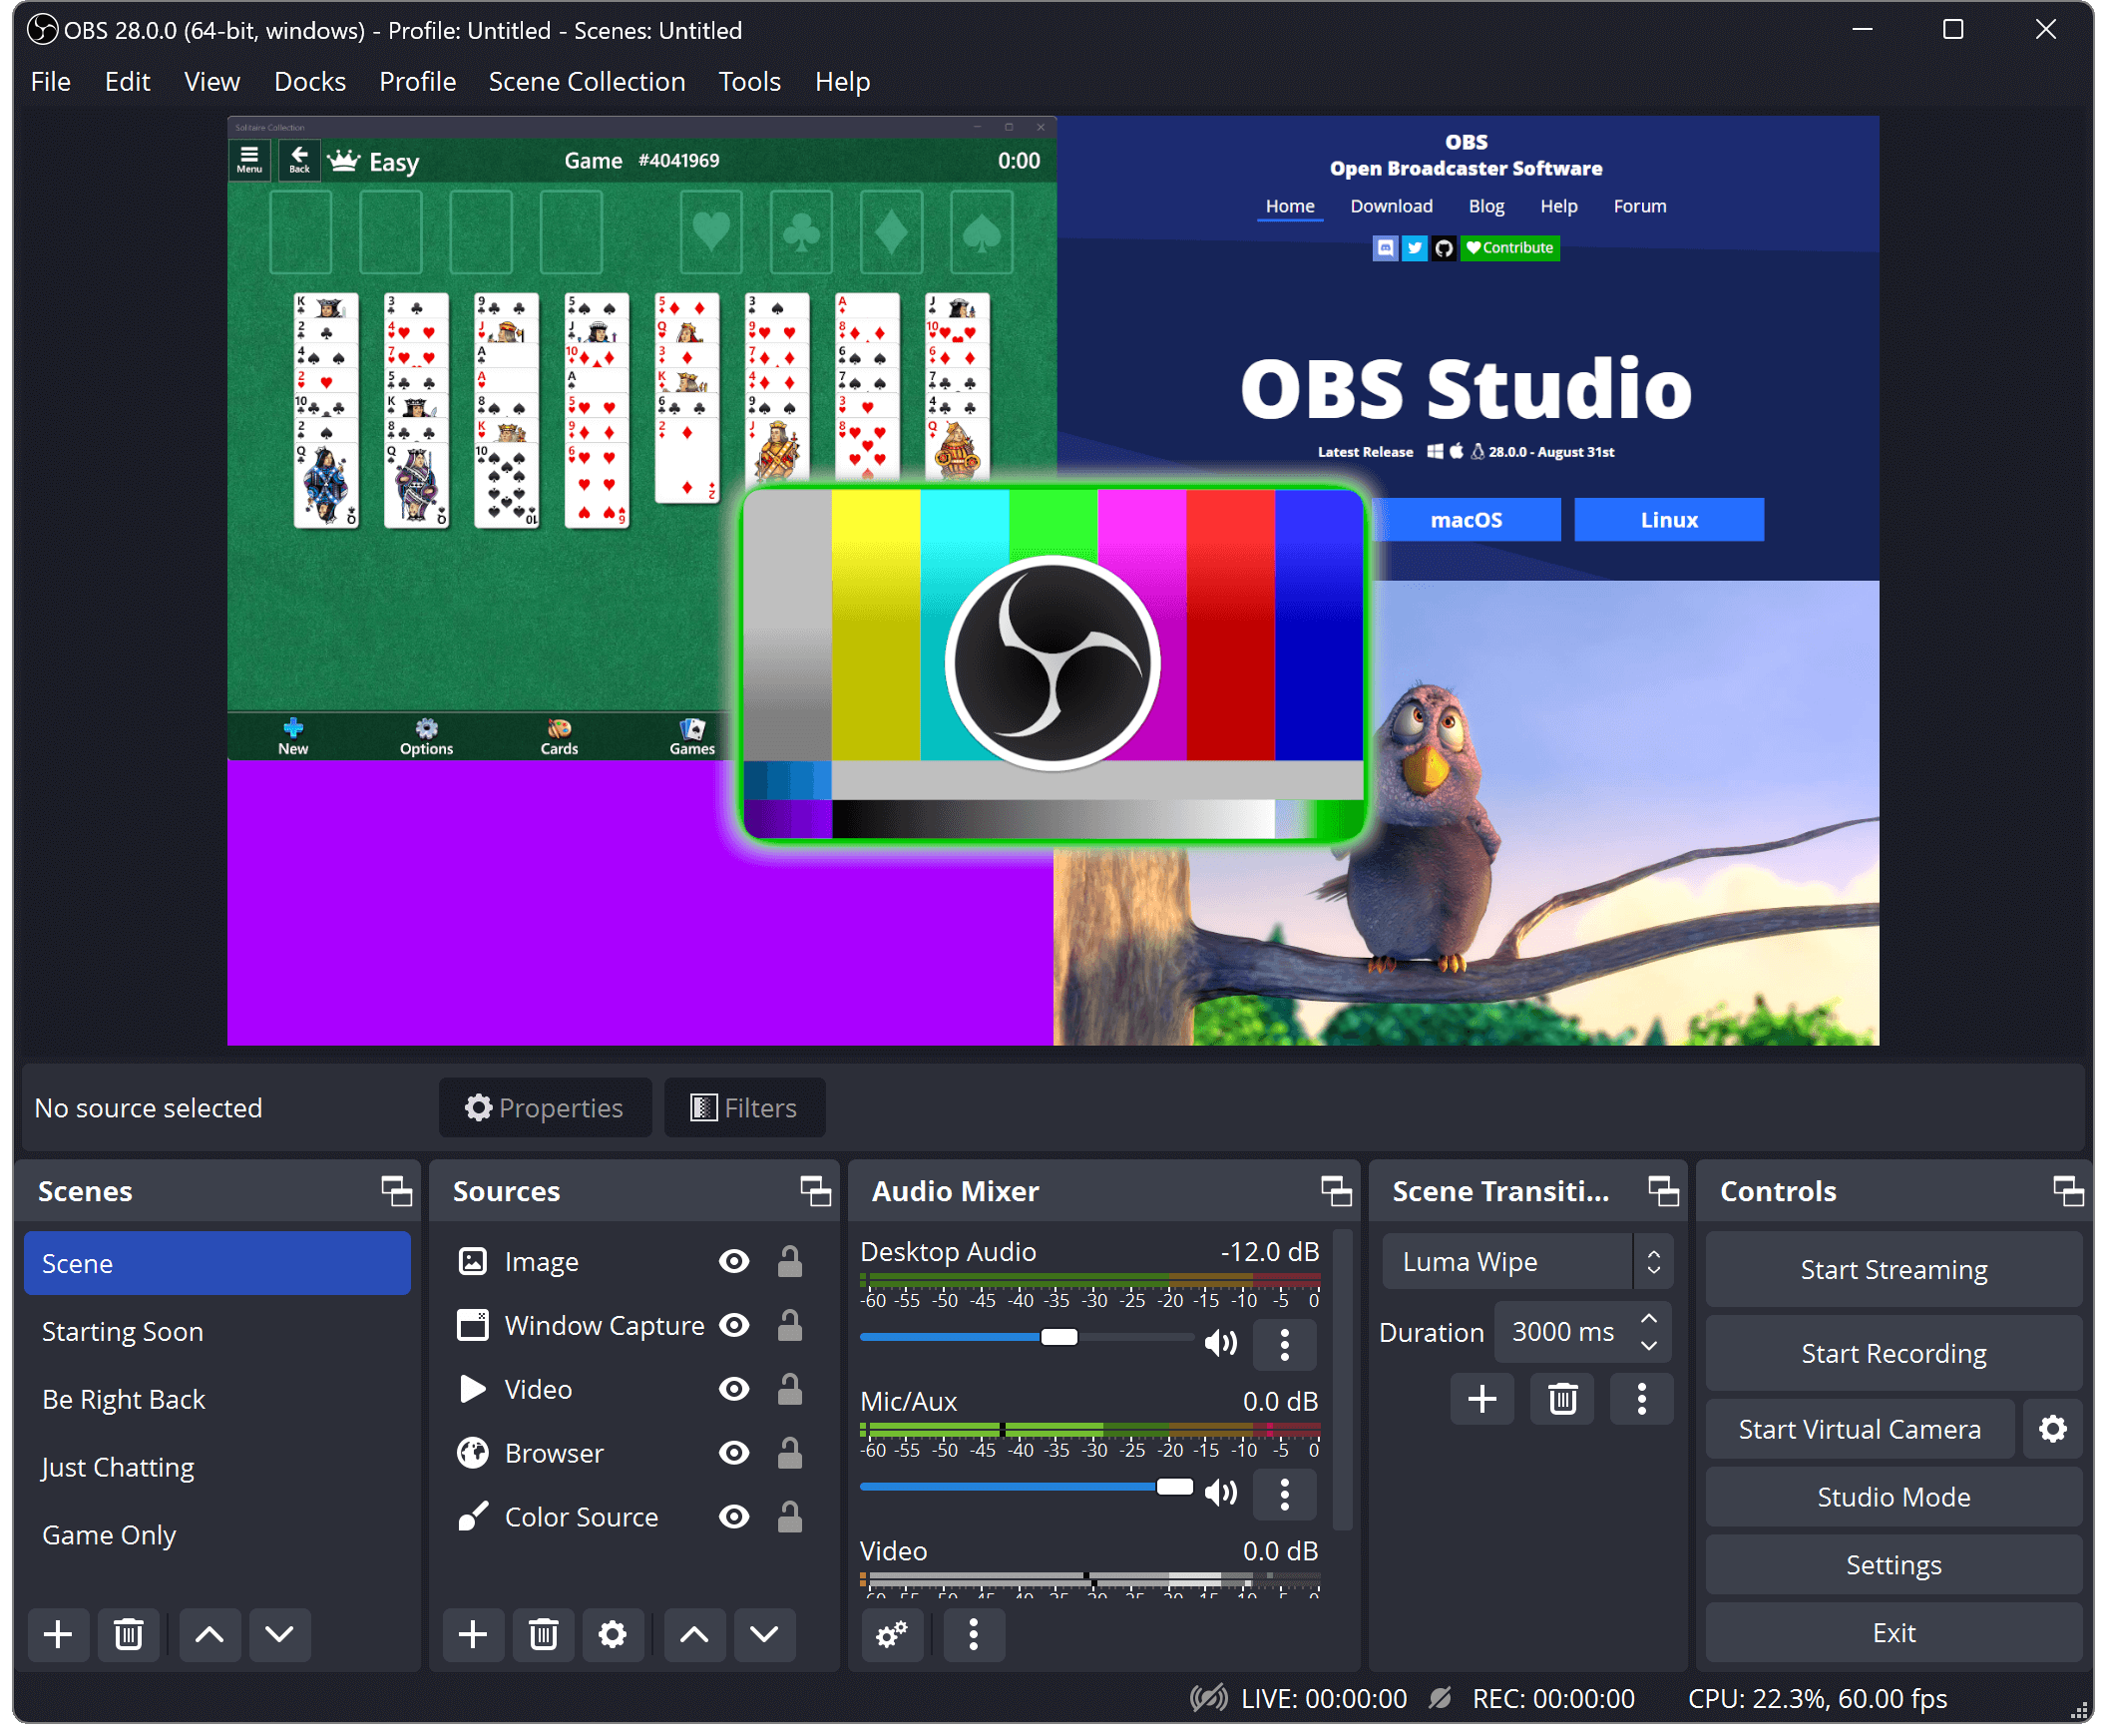
Once the installation is complete, you can launch OBS Studio and start setting up your recording or streaming environment. You can add scenes and sources and customise the settings to meet your needs.
The best settings for streaming in OBS Studio
OBS Studio (Open Broadcaster Software) is one of the most popular and versatile platforms for live streaming and video recording. To get the best out of OBS, it is important to choose the right settings. In this article, we will give you an overview of the optimal settings for a smooth streaming experience.
General settings
- Language: Select your preferred language in the settings.
- Profile and scene collection: It can be helpful to create different profiles and scene collections for different streaming scenarios or platforms. This allows you to switch between them quickly.
Video settings
- Base (canvas) resolution: This is the resolution in which you create your layout. Set it to the native resolution of your monitor, or choose a common streaming resolution such as 1920×1080 (Full HD).
- Output resolution: Here you set the resolution in which your stream is sent. A common setting is 1280×720 (720p) or 1920×1080 (1080p) for high-quality streaming.
- FPS (frames per second): Set the frame rate to 30 or 60 FPS. 60 FPS offers a smoother transmission, but requires more bandwidth and more powerful hardware.
Audio settings
- Input and output devices: Select your microphone and the audio source (e.g. desktop audio) that you want to stream here.
- Audio bit rate: A bit rate of 160 to 320 kbps is recommended for most streaming scenarios and ensures good audio quality.
Output settings
There are two modes in the output settings: ‘Simple’ and ‘Advanced’. The advanced mode offers more control, but we will concentrate on the simple settings here.
- Streaming bitrate: A bitrate between 2500 and 6000 kbps is suitable for most users. If you are streaming in 720p, start with 2500 kbps. For 1080p streams, 4500-6000 kbps is optimal, depending on the upload bandwidth of your internet connection.
- Encoder: Use a hardware encoder (such as NVENC for NVIDIA graphics cards) or the software encoder (x264), depending on your hardware and preferences. Hardware encoders reduce the load on the CPU and usually offer better performance.
- Keyframe interval: Set this to 2 seconds to ensure better compatibility with cam portals. You may also be able to request the optimum individual setting from the respective portal.
- Preset: If you are using x264, you can choose between different presets (from ‘ultrafast’ to ‘veryslow’). A good balance for most is ‘veryfast’. This offers decent video quality with acceptable CPU consumption.
Advanced settings
- Playback of the preview: Make sure that the preview is deactivated during streaming to improve CPU performance.
- Network recovery: Activate this function if you want to ensure that your stream remains stable when bandwidth is low.
Additional tips
- Internet connection: Make sure you have a stable and fast internet connection. An upload speed of at least 5 Mbps is recommended for 1080p streaming.
- Resource management: Close unnecessary programs during streaming to maximise the performance of your PC.
Testing and customising
It is important to carry out a few tests after configuring your settings. You can start a private stream or run a few test streams for friends or testers. Pay attention to the video and audio quality as well as the temperature of your system to make sure everything runs smoothly.
Conclusion
The correct configuration of OBS Studio can make a significant difference to the stream quality. Experiment with these settings according to your individual needs, hardware and internet connection. With the right settings, you are ideally equipped to stream successfully and inspire your viewers.